How To: Bladder Replacement for Wessels Expansion Tanks
Changing an expansion tank removable bladder is easy. Let’s go through it step by step.
Begin by isolating the expansion tank from the system. Remove valve cap and unscrew the valve core to release the air charge and then carefully lay the tank on its side to drain water out.

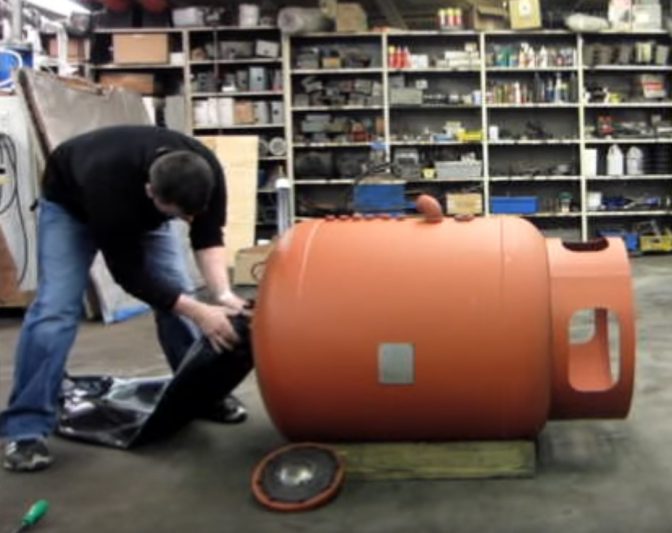
Next, remove the elbow connector at the base of the tank and remove jam nut. Push the bottom system connection into the tank. Remove the top cover from the tank and pull the bladder out. Be sure to save the jam nut and system connection as they are not a part of the bladder replacement package.
Clean the bottom system connection. Then inspect the bladder to make sure there are no sharp edges from the connection that can cut you or the bladder.
Inspect the inside of the tank for moisture, debris, or sharp edges. Any sharp edges should be ground smooth or touched up with sand paper. This will prevent the new bladder from rupturing by rubbing up against them.
Remove the new bladder from the box and inspect it for tears or holes before installing it into the tank. Drop the bottom system connection into the bladder and insert into the bottom opening.
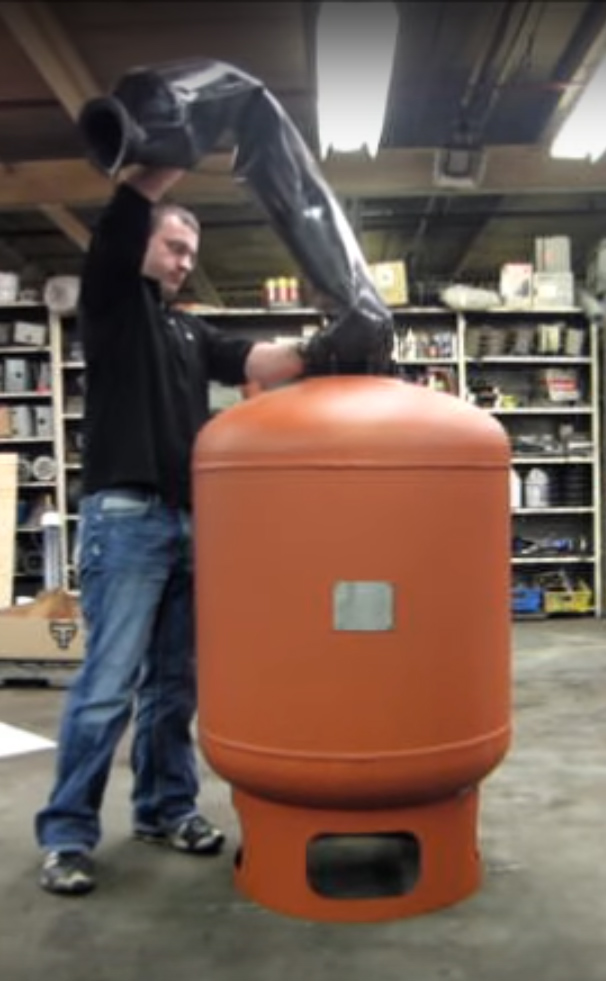
Carefully set the tank upright. Lay out the new bladder and roll it vertically to allow the entire bladder to fit into to hole in the top of the tank and guide the bladder inside.

Pull the bottom system connection through and screw the jam nut on the bottom. Return the tank to its side to allow for easier installation of the bladder. Tighten the jam nut with a pipe wrench to a hand tightened strength plus ¾ of another turn.
Wrap the bottom system connector with Teflon tape, apply pipe sealant and attach the elbow connector to the bottom system connector. Before putting the top cover back on, make sure the bladder is seated inside the tank properly and is not twisted.
Re-attach the top cover evenly, tightening bolts in a star pattern. If using an impact gun to tighten, use 50 – 60 lbs. of pressure on your settings. Stand the tank back up, secure the valve core, and pre-charge tank to minimum system pressure.
Your new bladder is now installed, and the expansion tank is ready to be introduced back into the system. Make sure you check the pressure 24 hours after installation to ensure pressure is holding. After that, check the pressure every 6 – 12 months. Under normal application, the unit should not lose more than 1 lb. per year at most.
If you have any questions about the bladder, tank, or installation, please call the Wessels Company office at 317-888-9800.
Wessels also has a handy youtube video which breaks down the process in easy to follow steps:
